
Transform your driving experience with a custom car computer powered by a Raspberry Pi and OBD2 connectivity. This guide provides a comprehensive walkthrough, from gathering the necessary components to setting up a graphical user interface and exploring advanced features like dash-cams and voice control. Learn how to harness the power of a Raspberry Pi to unlock a world of possibilities for your vehicle.
From Car Radios to Raspberry Pi Car Computers
In-car entertainment has evolved dramatically since the first car radio demonstration in 1904. From AM/FM radios and cassette tapes to CD players and Bluetooth connectivity, technology has continuously transformed the driving experience. Today, the Raspberry Pi offers a powerful and versatile platform for building a customized carputer with OBD2 integration, exceeding the limitations of stock systems.
Building Your Raspberry Pi OBD2 Carputer
Leveraging the AutoPi platform, building a Raspberry Pi car computer is now more accessible than ever. AutoPi provides a user-friendly interface and cloud-based services for monitoring and controlling your car’s data. Here’s a detailed guide to get you started:
Assembling the Hardware
The AutoPi hardware consists of an adapter board, an OBD-II dongle, and a Raspberry Pi. Assemble the components following the provided instructions or refer to online resources like YouTube for visual guidance. Ensure all connections are secure before proceeding to the next step.
Setting Up the Software
Download the latest AutoPi image and flash it onto a microSD card using a tool like Etcher. This will install the necessary operating system and software for your car computer. Once flashed, insert the microSD card into the Raspberry Pi.
Connecting to Your Car
Locate your car’s OBD-II port, usually under the dashboard, and connect the AutoPi dongle using an OBD-II extender cable. The OBD-II port will power the AutoPi system.
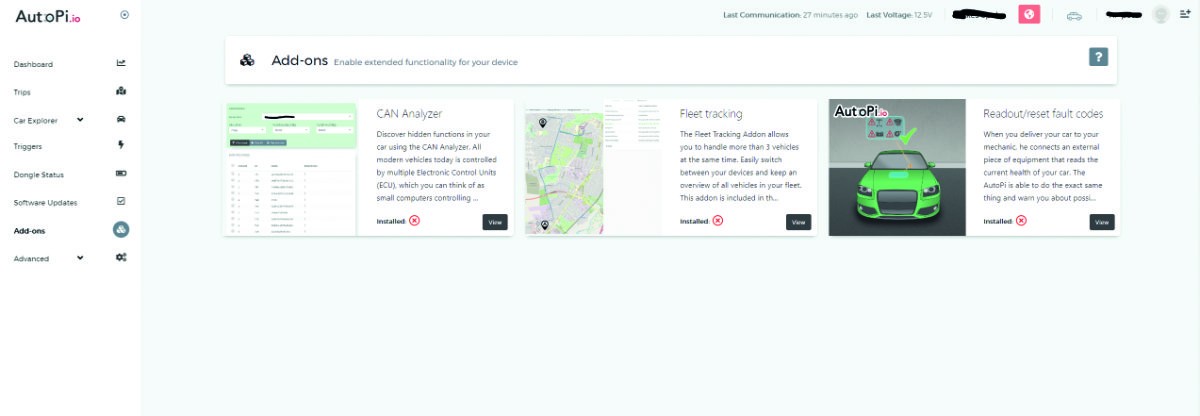
Configuring AutoPi
Create a free account at my.autopi.io and register your dongle. This will enable you to access data from your car computer and customize its settings remotely. If you’re reusing a dongle, generate a new ID using the grains.get id command in the terminal.
Installing a Graphical Interface
For a more user-friendly experience, install a graphical interface using Chromium in kiosk mode. Detailed instructions for setting up and configuring the interface are available online. This allows for real-time data visualization and interaction with the car computer.
Enhancing Your Raspberry Pi Car Computer
Expand the functionality of your carputer with additional features:
Dash-cam Functionality
Integrate a dash-cam by connecting a Raspberry Pi Camera Module or a USB webcam. This allows for recording your journeys, providing valuable evidence in case of accidents or capturing memorable driving moments.
Voice Control Integration
Enhance safety and convenience by adding voice control. Connect a USB microphone and configure custom voice commands for controlling various functions of your car computer without taking your hands off the wheel.
Parking Sensors
Improve parking safety by integrating parking sensors. Connect external sensors to your AutoPi to receive visual or audible alerts when approaching obstacles, making parking in tight spaces easier.
Conclusion
A Raspberry Pi car computer with OBD2 capabilities offers a powerful and customizable solution for enhancing your driving experience. By following this guide, you can transform your car into a connected hub, unlocking a world of possibilities for entertainment, safety, and diagnostics. Remember to prioritize safe driving practices and avoid interacting with the system while operating the vehicle.