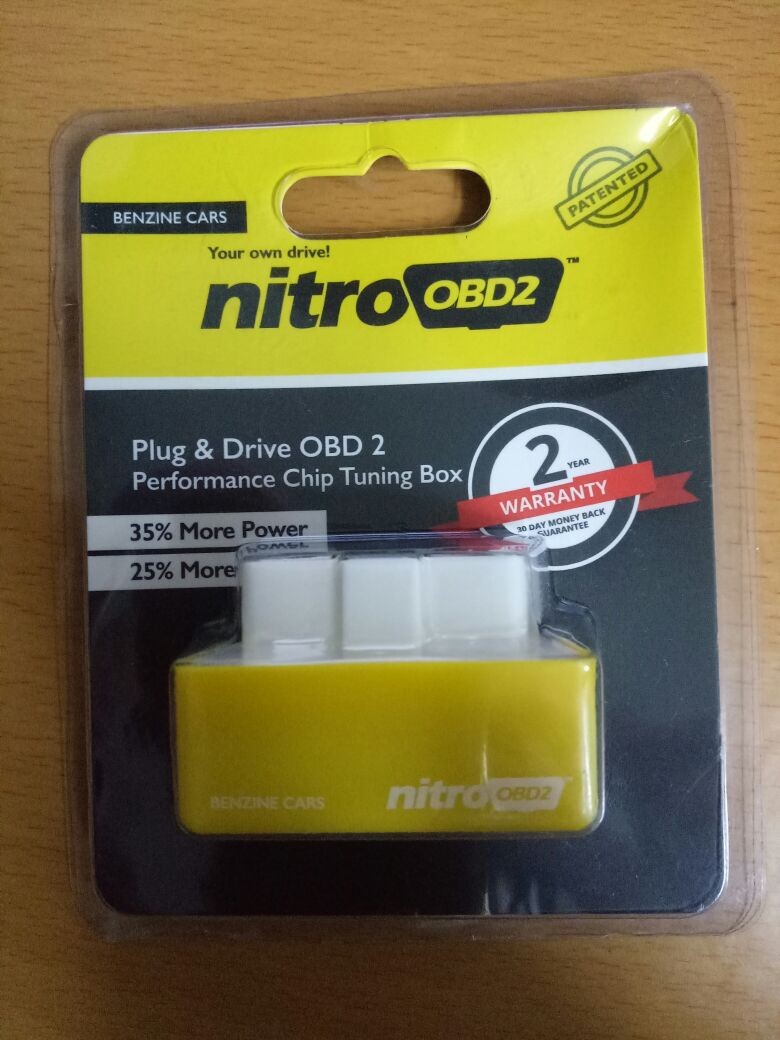
The Nitro OBD2 performance chip promises to enhance your car’s power and fuel efficiency. But what does it mean when the Nitro OBD2 chip is blinking a red light? This article explains the common causes of a flashing red light on your Nitro OBD2 chip and provides troubleshooting steps to resolve the issue.
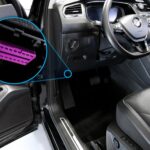
The Nitro OBD2 chip is a plug-and-play device that connects to your car’s OBD2 port and modifies various engine parameters to potentially improve performance. A blinking red light typically indicates that the device is communicating with your car’s ECU (Engine Control Unit). However, a persistent or erratic flashing red light could signal a problem.
Common Causes of a Blinking Red Light
Several factors can cause the red light on your Nitro OBD2 chip to blink abnormally:
- Loose Connection: The most common cause is a loose connection between the chip and the OBD2 port. Ensure the chip is firmly seated in the port.
- Compatibility Issues: The Nitro OBD2 chip may not be compatible with all car makes and models. Verify compatibility before purchasing and installing the device.
- ECU Errors: The red light might indicate that the chip has detected an error in your car’s ECU. This requires further diagnostics using an OBD2 scanner.
- Malfunctioning Chip: A faulty Nitro OBD2 chip can also cause the red light to blink erratically or not at all.
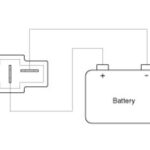
- Low Battery Voltage: In some cases, a low car battery voltage can interfere with the chip’s operation, triggering a flashing red light.
Troubleshooting Steps
If you encounter a blinking red light on your Nitro OBD2 chip, follow these troubleshooting steps:
- Check the Connection: Ensure the chip is securely plugged into the OBD2 port. Try unplugging and re-plugging the device.
- Verify Compatibility: Consult the Nitro OBD2 compatibility chart to confirm that the chip is compatible with your car’s make and model year.
- Inspect the OBD2 Port: Check the OBD2 port for any damage or debris that might be hindering a proper connection.
- Check Battery Voltage: Test your car battery voltage to ensure it’s within the recommended range. A low battery can cause various electrical issues, including problems with the Nitro OBD2 chip.
- Read ECU Codes: Use an OBD2 scanner to read any diagnostic trouble codes (DTCs) stored in your car’s ECU. These codes can provide valuable insights into the underlying problem.
- Contact Support: If the problem persists, contact Nitro OBD2 customer support for assistance. They may have specific troubleshooting advice or offer a replacement chip if yours is faulty.
Conclusion
A blinking red light on your Nitro OBD2 chip usually indicates normal communication with your car’s ECU. However, a persistent or unusual flashing pattern may signal a problem. By following the troubleshooting steps outlined above, you can identify and resolve the issue, ensuring optimal performance from your Nitro OBD2 chip. If the problem persists, contacting Nitro OBD2’s customer support is recommended. Remember, consulting a qualified mechanic is always advisable for any complex car issues.