
An OBD2 (On-Board Diagnostics) code reader, also known as an EOBD reader in Europe, is a vital tool for understanding your car’s health. This guide provides a step-by-step approach on how to use an OBD2 EOBD code reader, empowering you to diagnose potential car problems and save money on repairs.
Connecting to Your Car’s Computer
OBD2 scanners tap into your vehicle’s computer system to retrieve valuable data. This information includes diagnostic trouble codes (DTCs), often referred to as fault codes, which indicate specific issues within your car’s various systems.
Types of OBD2 Scanners
From basic code readers to advanced professional tools, a range of OBD2 scanners exists. Basic Bluetooth OBD2 code readers, compatible with smartphones, offer a budget-friendly option for reading fault codes and basic live data. More advanced scanners allow for resetting service reminders, activating specific service functions, and accessing comprehensive live data. Professional-grade tools offer extensive coding and programming capabilities. Choosing the right scanner depends on your needs and technical expertise.
How to Use an OBD2 Code Reader Step-by-Step
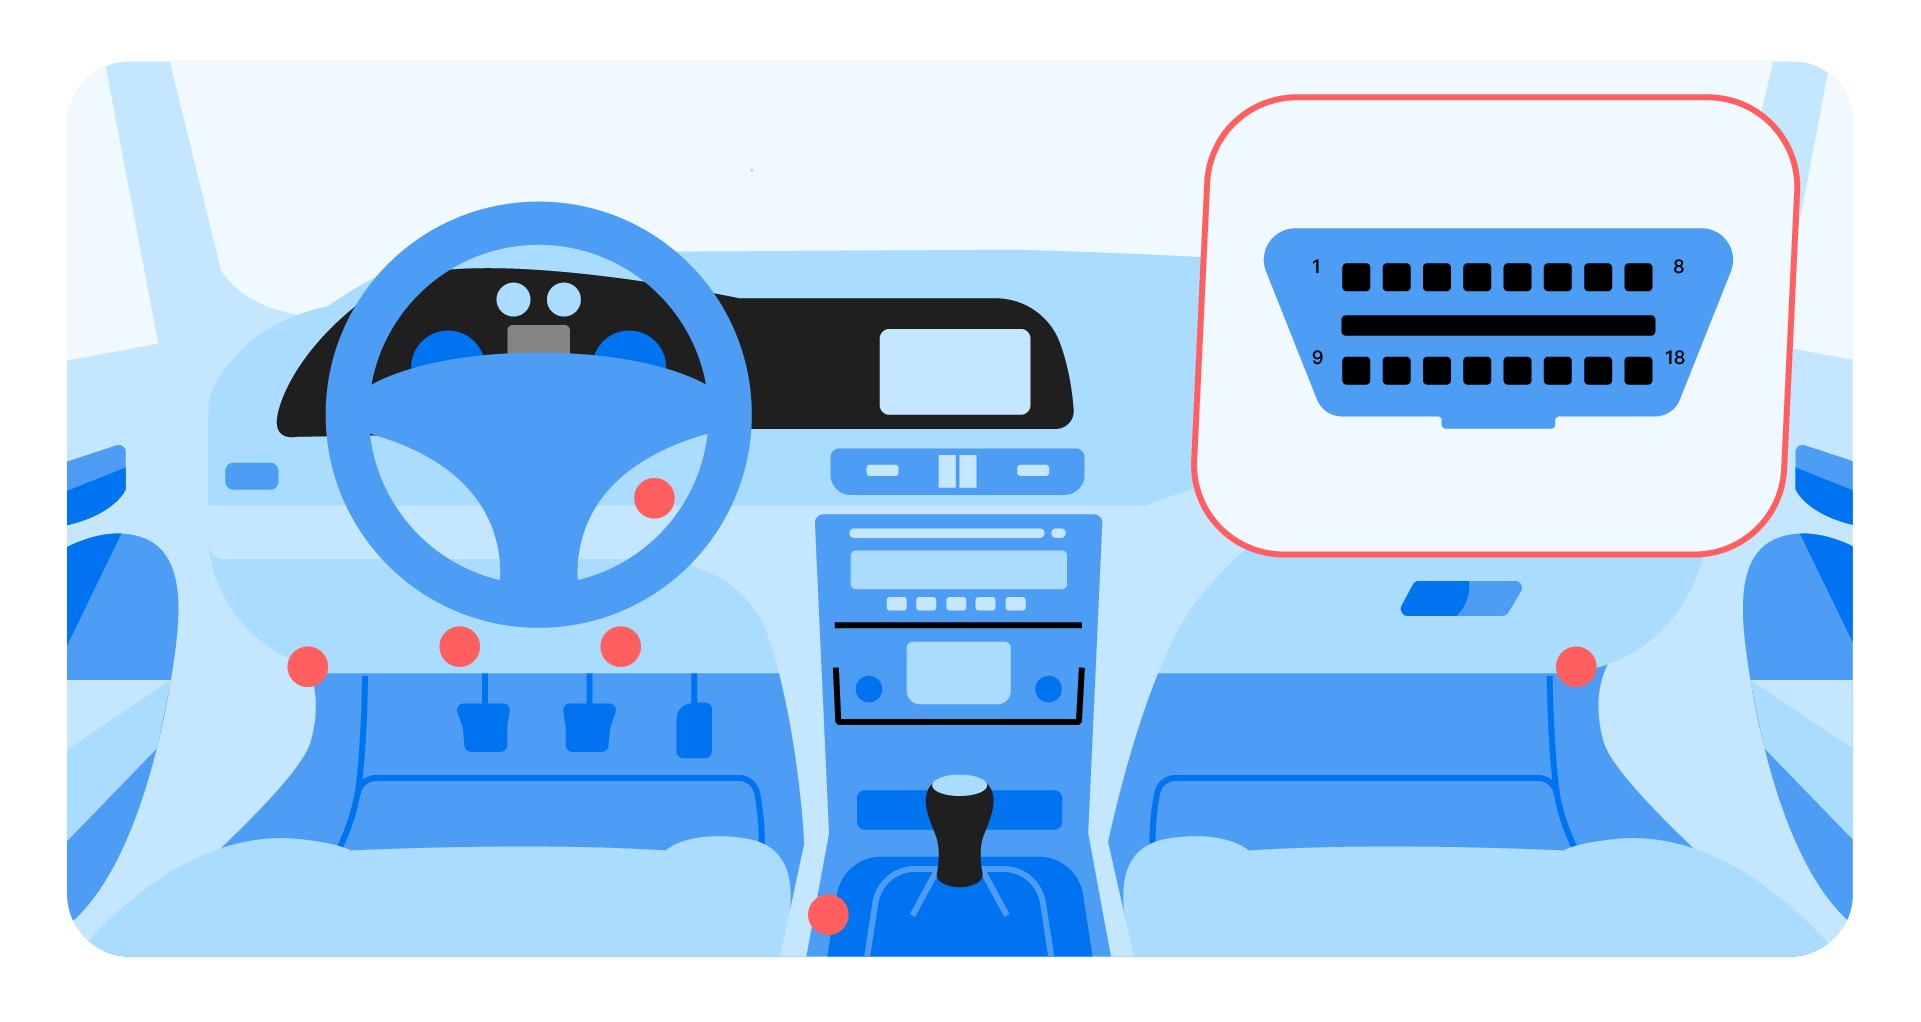
1. Locate the OBD2 Port:
The OBD2 port is typically located under the steering wheel or within the center console. Consult your car’s manual if you have trouble finding it.
2. Connect the Scanner:
Plug the OBD2 scanner into the port. For Bluetooth scanners, ensure pairing with your smartphone.
3. Turn on the Ignition:
Turn the ignition key to the “on” position without starting the engine. This powers up the car’s computer system, allowing the scanner to communicate with it. Disable unnecessary electrical loads like headlights and the radio.
4. Select Vehicle Information:
If required, input your car’s make, model, and year into the scanner. Some advanced scanners automatically detect this information using the VIN.
5. Initiate the Scan:
Select the option to scan for fault codes. Choose a full system scan or focus on specific control units. The scan duration varies depending on the car model and the scanner’s capabilities.
6. Interpret the Codes:
The scanner will display diagnostic trouble codes (DTCs). Each code represents a specific problem. Research the meaning of each code online or using a repair manual.
7. Clear the Codes (Optional):
After addressing the underlying issue, you can use the scanner to clear the fault codes.
Understanding OBD2 Fault Codes
Fault codes provide crucial clues for diagnosing car problems. Some codes directly indicate the faulty component (e.g., a specific sensor). However, others may point to more complex issues requiring further investigation. Utilize online resources, repair manuals, or consult with a mechanic to accurately interpret the codes and pinpoint the root cause.
Leveraging Live Data
Many OBD2 scanners offer live data functionality, allowing real-time monitoring of various sensor readings. This feature proves invaluable for diagnosing intermittent problems or verifying sensor operation.
OBD2 Scanners for Used Car Inspections
Using an OBD2 scanner when buying a used car can reveal hidden problems and avoid potential costly repairs. Scanning for fault codes before purchasing a used vehicle provides valuable insights into its mechanical condition.
Conclusion
Mastering the use of an OBD2 EOBD code reader empowers you to take control of your car’s maintenance and repairs. By understanding how to retrieve and interpret fault codes, you can effectively diagnose problems, make informed repair decisions, and potentially save significant money on automotive expenses. While OBD2 scanners are valuable tools, remember that complex issues may still require professional diagnosis and repair.