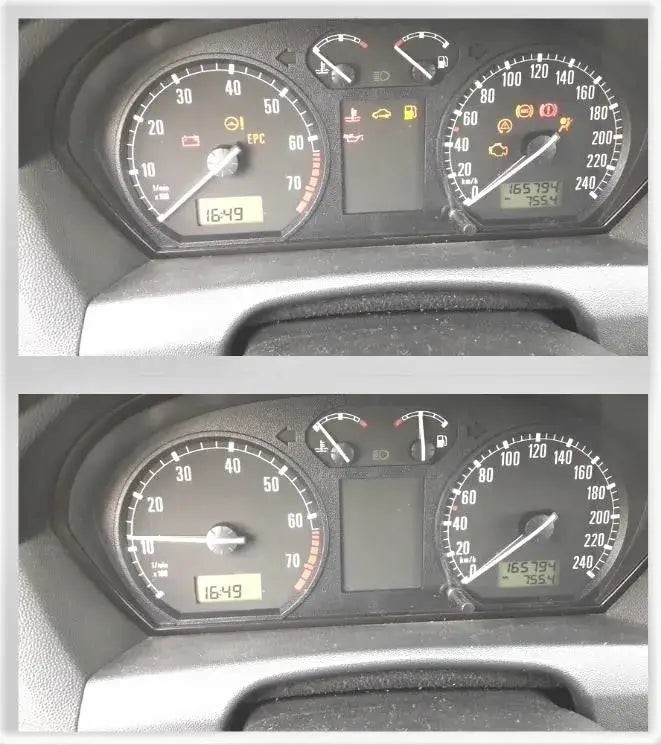
The check engine light glaring from your dashboard can be a source of anxiety. While ignoring it isn’t an option, a trip to the mechanic isn’t always necessary. This guide provides a step-by-step walkthrough on how to reset your check engine light using an OBD2 scanner, potentially saving you time and money.
Understanding the Process
Resetting your check engine light with an OBD2 reader is straightforward, even for beginners. An OBD2 reader, also known as a scanner, plugs into your car’s OBD2 port and communicates with the car’s computer. It retrieves diagnostic trouble codes (DTCs), which indicate the source of the problem triggering the check engine light. Some readers only display codes; others allow you to clear them, effectively resetting the light. This guide focuses on using a reader with clearing capabilities. Before starting, ensure you have a compatible OBD2 scanner.
Steps to Reset Your Check Engine Light
1. Locate the OBD2 Port
The OBD2 port is typically located under the dashboard on the driver’s side, often near the steering column. Consult your vehicle’s owner’s manual for the precise location if needed.
2. Connect the OBD2 Scanner
Plug the OBD2 scanner into the port. Ensure a secure connection.
3. Turn the Ignition On
Turn the ignition key to the “on” position without starting the engine. This powers up the OBD2 scanner and allows it to communicate with the car’s computer.
4. Initiate a Scan
Follow the scanner’s instructions to initiate a scan. The scanner will retrieve the stored DTCs.
5. Interpret the Error Codes
The scanner will display the DTCs. These codes are standardized and indicate the specific issue detected by the car’s computer. You can look up the code definitions online or in the scanner’s manual. Crucially, understanding the error code is essential before proceeding with a reset. A minor issue, like a loose gas cap, can trigger the check engine light. However, more serious problems require professional attention.
6. Clear the Codes
If you’ve determined the issue is minor and addressed it, navigate the scanner’s menu to find the “clear codes” or “erase DTCs” option. Confirm the selection.
7. Disconnect the Scanner
After clearing the codes, turn off the ignition and disconnect the OBD2 scanner.
8. Verify the Reset
Start the engine. The check engine light should be off. If it remains on, the issue may be more serious and requires further diagnosis.
Important Considerations
This guide is for informational purposes only and should not replace professional advice. Resetting the check engine light does not fix the underlying problem. It merely clears the code and turns off the light. If the problem persists, the light will reappear. Addressing the root cause is crucial.
Conclusion
Using an OBD2 scanner to reset your check engine light can be a valuable tool for DIY car maintenance. However, always prioritize diagnosing and fixing the underlying issue to ensure your vehicle’s proper operation. If you are unsure about any aspect of this process or the severity of the problem, consult a qualified mechanic.