
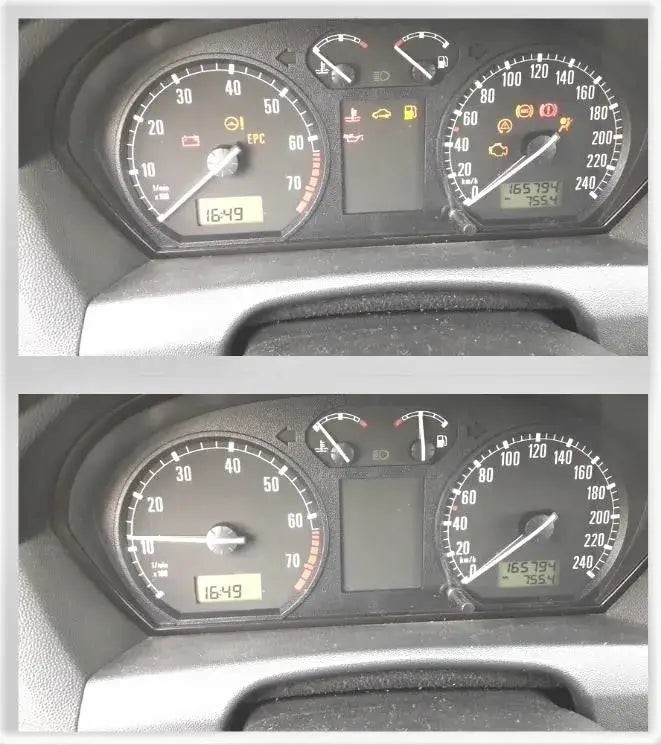
The dreaded check engine light. It illuminates your dashboard, injecting a dose of anxiety into your commute. While ignoring it might be tempting, driving with an active check engine light isn’t recommended. But what if you’ve addressed the underlying issue and just need to reset the light? That’s where an OBD2 scanner comes in. This article provides a comprehensive guide on How Does An Obd2 Scanner Clear Codes, empowering you to take control of your car’s diagnostics.
Understanding the OBD2 Scanner and Code Clearing Process
An OBD2 (On-Board Diagnostics) scanner is a powerful tool that communicates with your car’s computer, reading and clearing diagnostic trouble codes (DTCs) that trigger the check engine light. But how does an OBD2 scanner clear codes? Essentially, it acts as a bridge between you and your car’s computer, allowing you to:
- Retrieve DTCs: The scanner accesses stored codes, indicating the specific issue detected by the car’s sensors.
- Interpret Codes: Many scanners provide descriptions of the codes, helping you understand the problem.
- Erase Codes: After fixing the problem, the scanner sends a command to the car’s computer to clear the DTCs and turn off the check engine light. This process resets the system, allowing it to monitor for new issues.
How to Clear Codes with an OBD2 Scanner: A 10-Step Guide
Clearing codes with an OBD2 scanner is a straightforward process. Here’s a detailed walkthrough:
1. Locate the OBD2 Port
The OBD2 port is typically located under the dashboard, on the driver’s side, near the steering column.
2. Connect the OBD2 Scanner
Plug the scanner’s connector into the OBD2 port. Ensure a secure connection.
3. Turn the Ignition On
Turn the ignition key to the “On” position (without starting the engine). This powers up the scanner and allows it to communicate with the car’s computer.
4. Initiate a Scan
Using the scanner’s interface, select the option to read or scan for codes. The scanner will communicate with the car’s computer and retrieve any stored DTCs.
5. Read and Interpret the Codes
The scanner will display the retrieved DTCs. Refer to the scanner’s manual or an online resource to understand the meaning of each code.
6. Clear the Codes
After addressing the underlying issue causing the check engine light, navigate to the “Clear Codes” or “Erase DTCs” option on the scanner. Confirm the action.
7. Return to the Main Menu
Navigate back to the scanner’s main menu after clearing the codes.
8. Disconnect the Scanner
Turn off the scanner (if applicable) and carefully disconnect it from the OBD2 port.
9. Turn Off the Ignition
Turn the ignition key back to the “Off” position.
10. Verify the Light is Off
Start the engine. The check engine light should be off. If it remains on, re-scan for codes to ensure the issue has been resolved.
Conclusion
Understanding how does an OBD2 scanner clear codes is essential for any car owner. This tool allows you to diagnose and address car problems, ultimately saving you time and money. However, remember that clearing codes only resets the system; it doesn’t fix the underlying issue. Always diagnose and repair the problem before clearing codes to prevent further damage and ensure your car runs smoothly. Using an OBD2 scanner empowers you to take proactive steps in maintaining your vehicle’s health.
