
Proper wheel alignment is crucial for optimal vehicle handling, tire wear, and overall driving experience. While professional alignment services are available, they can be costly and time-consuming. For car enthusiasts and DIY mechanics, creating a Homemade Car Alignment Tool can be a game-changer, especially when focusing on toe adjustment. This guide will delve into how you can effectively use DIY methods, particularly toe plates and string boxes, to achieve accurate toe alignment in your garage.
Understanding toe is fundamental to wheel alignment. Toe refers to the angle of your wheels relative to each other when viewed from above. Toe-in means the front of the wheels are closer together than the rear, while toe-out indicates the front of the wheels are further apart. Toe settings significantly impact turn-in response, handling balance, and tire wear. Adjusting toe can dramatically improve your car’s performance, whether you’re aiming for sharper cornering on the track or extended tire life on the street.
For quick toe checks and tracking changes, toe plates are an excellent homemade car alignment tool. If you know your vehicle’s toe is evenly split across each axle beforehand, toe plates provide a straightforward method to measure and monitor adjustments. Many enthusiasts, especially those involved in track days, find themselves using toe plates more frequently than camber gauges due to toe’s significant effect on handling.
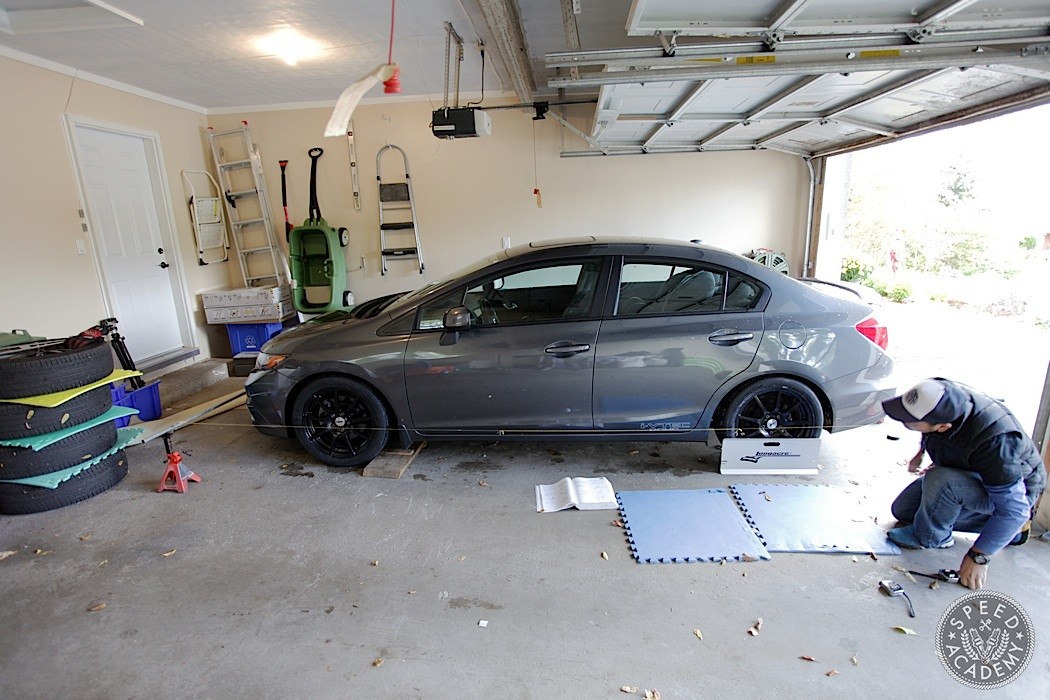
To measure individual toe at each wheel, a string box setup becomes necessary. This method involves creating a rectangular frame around your car using strings, positioned along the horizontal centerline of the wheels and equidistant from each wheel’s center point. While professional string box systems are available, a DIY approach is perfectly feasible and cost-effective. You can construct a string box using jack stands, metal tubing, and string. Secure the tubing to the jack stands with clamps or vice grips, ensuring holes are drilled at each end to attach the string.
When setting up your string box, it’s critical to account for any difference in front and rear track width to ensure the box is square. If the rear track is narrower than the front, you must compensate by positioning the string further out from the center of the rear wheels. For instance, if the rear track is one inch narrower, set the string half an inch further out from the rear wheel centers.
Once your string box is properly squared and leveled, you can measure the distance from the front and rear of each tire to the string. This process is similar to using toe plates but allows you to assess toe at each wheel individually. This capability is crucial for setting toe separately at each corner or correcting total toe across an axle, ensuring it’s evenly distributed from side to side. Even front toe distribution is especially important as uneven toe can cause a car to pull to one side during acceleration. Remember to re-check the string box for squareness every time you adjust toe settings and jack up the car, as its position may slightly shift upon lowering. After making camber or toe adjustments, always roll and bounce the car to allow the suspension to settle before remeasuring. Also, confirm that your front wheels are pointed straight ahead before taking measurements.
The initial DIY alignment can be time-consuming, involving multiple setups and adjustments of the string box as you fine-tune your settings. It’s not uncommon to spend hours in your garage achieving the perfect alignment. However, the satisfaction of achieving precise, self-made alignment is rewarding. With practice, the process becomes faster and more efficient.
Front toe adjustments are typically made at the tie rods. Loosen the jam nut and rotate the tie rod within the threaded rod end to lengthen or shorten it, thus adjusting toe-in or toe-out. Measuring the length of the tie rod on each side can be helpful, providing a reference point and indicating potential toe imbalances.
Rear-wheel drive Japanese cars often feature eccentric bolts for adjusting rear camber and toe. Rotating these egg-shaped bolts alters the control arm’s position relative to the chassis, adjusting either camber or toe. Many eccentric bolts have degree markings on their flange surface, simplifying the process of quantifying adjustments. In contrast, front-wheel drive Hondas may adjust rear toe by moving the toe-arm anchoring point, while camber adjustments often require aftermarket upper compensator arms, similar in adjustment to front tie rods. Before starting a DIY alignment, familiarize yourself with your vehicle’s specific adjustment mechanisms. It’s also wise to apply penetrating oil to jam nuts and eccentric bolts beforehand, as they are prone to rust and seize over time.
For track cars, a slight toe-out setting in the front is often preferred to enhance turn-in response. Rear toe settings are more nuanced. For front-wheel drive and all-wheel drive cars, a touch of rear toe-out can aid rear rotation and improve handling balance. Conversely, rear-wheel drive cars often benefit from a slight toe-in for increased mid-corner stability. Optimal toe settings are highly dependent on driving style, suspension setup, and desired handling characteristics. Alignment settings, particularly toe, will vary significantly between a front-wheel drive grip race car and a rear-wheel drive drift car.
While experience provides a good starting point for alignment settings, every car is unique. Regularly collect tire temperature data and monitor tire wear patterns. This data is invaluable for guiding alignment adjustments to optimize grip and handling. Wheel alignment, especially toe, is fundamentally about maximizing tire performance. However, sometimes, alignment settings might be tweaked to adjust handling balance or turn-in characteristics, even if it slightly compromises ultimate tire performance. Don’t hesitate to experiment with wheel alignment. It’s a potent tuning tool readily accessible with the right homemade car alignment tool and a willingness to learn and adjust.