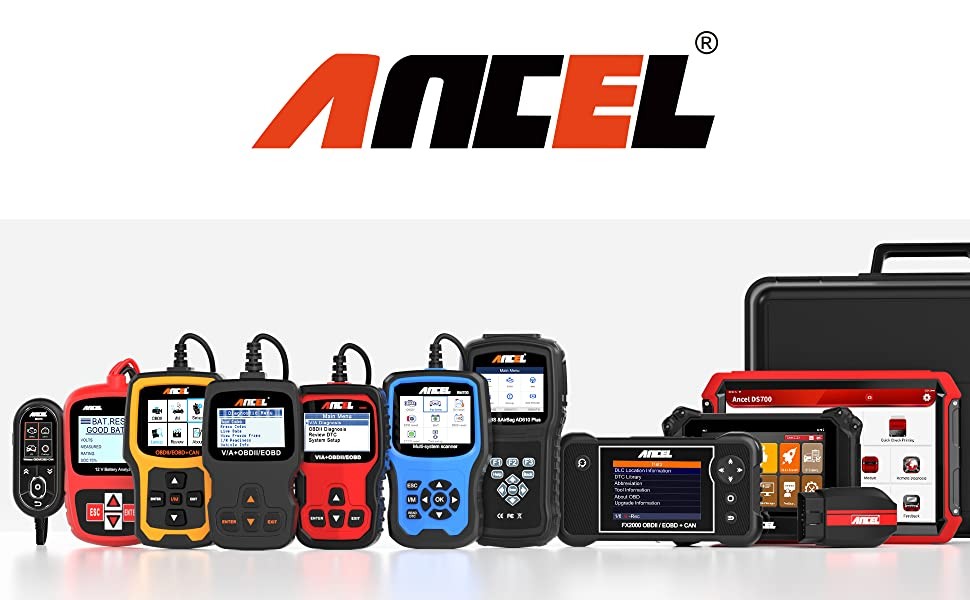
Ancel OBD2 scanners are renowned for their affordability and user-friendly design, offering a practical solution for car owners seeking to diagnose vehicle issues without hefty mechanic bills. This guide provides comprehensive directions on using an Ancel OBD2 scanner, empowering you to understand and address your car’s diagnostic trouble codes (DTCs).
 Connecting an Ancel OBD2 Scanner
Locating the OBD2 Port
The first step in using your Ancel OBD2 scanner is locating your vehicle’s OBD2 port, also known as the Data Link Connector (DLC). In most vehicles manufactured after 1996, this port is situated under the dashboard on the driver’s side, typically to the left of the steering column. The port is trapezoidal and has 16 pins. Consult your owner’s manual if you have difficulty finding it. Some vehicles may have the port in less common locations like the passenger side, center console, or even behind the ashtray.
Connecting the Ancel OBD2 Scanner
With the OBD2 port located, turn off your vehicle’s ignition. Ancel offers various scanner models, including wired handheld devices and wireless Bluetooth modules. For wired scanners, simply plug the cable into the OBD2 port. For Bluetooth scanners, plug the module into the port and then pair it with your smartphone or tablet via the Ancel app, available on both the App Store and Google Play Store.
Powering Up and Vehicle Information
Some Ancel scanners are self-powered, while others require the vehicle’s ignition to be turned to the “on” or “accessory” position (engine off). Follow the specific instructions for your scanner model. Some scanners may prompt you to enter vehicle information like the VIN, make, and model. This information is usually found on the driver’s side windshield or your vehicle registration. More advanced Ancel scanners often automatically detect this information.
Reading and Interpreting Fault Codes
Once connected and powered, the scanner will begin reading and displaying fault codes stored in the vehicle’s ECU. These codes, typically presented as a letter followed by four digits (e.g., P0420), indicate specific issues.
- Active Codes: Trigger the check engine light and require immediate attention.
- Pending Codes: Relate to emissions control and may not trigger the check engine light initially, but could become active if the problem worsens.
Understanding the meaning of these codes is crucial.
- B (Body): Issues with body components like airbags, seatbelts, or power steering.
- P (Powertrain): Problems related to the engine, transmission, fuel system, or ignition.
- C (Chassis): Faults within the chassis, such as ABS, brakes, or axle.
- U (Undefined): Codes that don’t fall into the other categories.
The first digit after the letter indicates whether the code is generic (0) or manufacturer-specific (1). The following digits pinpoint the specific component and problem. While some Ancel scanners provide code definitions, you may need to consult online resources or repair manuals for others.
Erasing Fault Codes
After diagnosing and repairing the issue indicated by the fault codes, you can use the Ancel scanner to erase the codes and turn off the check engine light. Some scanners allow you to clear codes even before resolving the problem, but this is not recommended as the underlying issue may persist.
Conclusion
Ancel OBD2 scanners offer a user-friendly and cost-effective way to diagnose car problems. By following these directions, you can gain valuable insights into your vehicle’s health and address potential issues promptly. Remember to consult your vehicle’s repair manual or seek professional assistance if you encounter complex problems or are unsure about performing repairs yourself. Ancel provides a range of scanners to suit different needs and budgets, from basic code readers to more advanced diagnostic tools.

