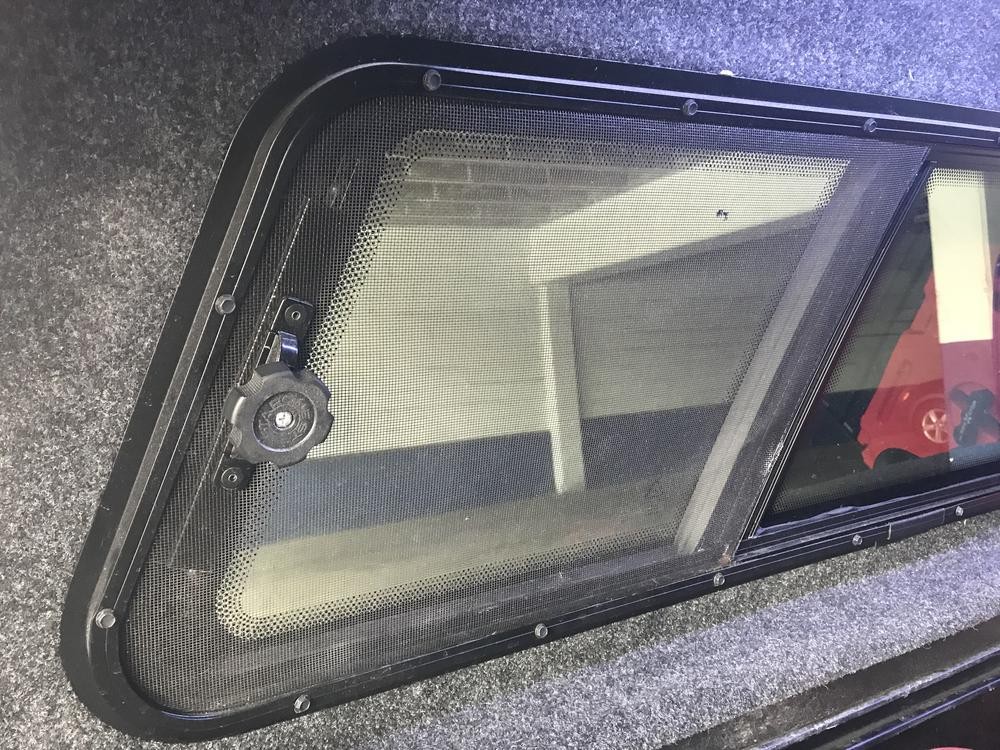
This project started a bit slow, but it’s really coming together now. The molding process is nearly complete; I just need to finalize a few details before cutting out the necessary openings. After my wife advised against using the oven, I turned to the grill, which admittedly made the process more challenging. Here’s the side window I’m working on, which will obviously need a cutout to accommodate the window crank.
Every successful DIY project begins with a solid plan. My design is intended to house two fans, but I want to evaluate the performance of a single fan first. Adding a second fan later should be a straightforward modification. The design includes two tiers: one for the knob cutout and another to fit the fan and its speed controller. The controller, switch, and speed knob will be positioned roughly as shown in the plan, behind the molded shroud. To protect the electrical components from water, I plan to mold a back cover as well. This setup is ideal for using a powerful and efficient fan like the Northern Tool Roadpro Car Fan Tornado 12v.
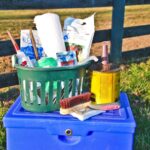
To create the mold, I used 2x4s and 5/8 sheathing that I had on hand. I mounted the mold onto another piece of scrap material, which provided stability throughout the molding process. This extra support proved to be incredibly helpful when manipulating the mold.
After considerable trial and error to get the temperature just right and minimize hot spots using aluminum foil, the mold went into the grill. It was a tight fit in my grill, but I’m fairly certain it would have fit in a standard oven. Despite warnings about potential odors, I didn’t notice any significant smell until the wooden blocks I was using as supports started to catch fire – a bit of a mishap, haha. Using a consistent heat source is crucial for even molding, especially when working with materials for automotive applications like a Roadpro car fan.
As you can see, I ended up with some burnt edges, and the initial molded piece looks quite rough. There’s definitely room for improvement in this stage. Refining the heating process would be key to avoid scorching and achieve a smoother finish for future iterations.
This is where the project stands at the end of the day. Like with any unique, one-off project, if I were to do this again, I could probably complete it in less than half the time. So far, I’ve invested about 6 hours into this. I’ve been using my heat gun to fine-tune all the corners, and I’m beginning to think that using just the heat gun for the entire molding process might have been more effective. My main challenge is the thickness of the Kydex I’m using, which is about as thick as it gets, making it inherently difficult to work with. With a little more time and heat gun work, I should be able to get this looking really good. Then the real fun – installing a Tornado 12V fan from Northern Tool – can begin.